
We all have a shelf in our house that screams for changing its position, but we just can’t because it’s already attached to the wall, and detach and reattach the entire shelf in a new location? ~ Phew…What a hassle?!
Let’s think French with the French Cleats. This is a fixture method probably influenced by the French culture in the world in the 1800’s. There are many theories to why it’s named French Cleats but this is the simplest theory which I think makes sense. No offense though!

French Cleat is a simple bracket made of wood with interlocking 45 degree angles. This is a great way to make easily removable, repositionable wall Cabinets, Shelves, Large mirrors and any other objects that we can hang on the wall. They sit securely in place and lift off as and when needed. Do you know that making a French cleat is as easy as it is to hang and also doesn’t hurt your pockets?
Let’s Look at the Materials we need to Make our French Cleat Shelf:

- Wood: I would suggest using a plywood of 18mm and it is easily available in any hardware store.
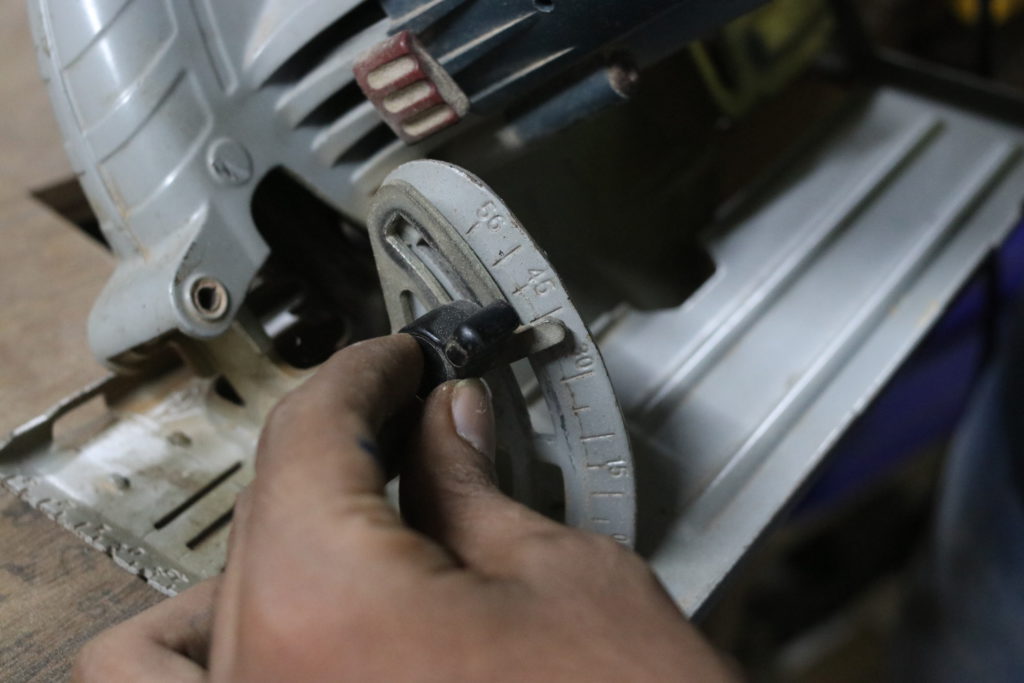
- A Circular Saw to cut the wood. If you don’t have a circular saw, you can use a jigsaw- though I wouldn’t suggest it but serves the purpose.
- Some Screws
- Adhesive: Use a Wood resin. I have used a Fevicol SH resin. Craft glue is a bummer and I would scream a big–NO!
- Sandpaper- to soften the edges
- Pencil or marker for marking on the wood.
- A Ruler- For marking straight lines.
- Safety gear: Eye gear, and anything you might need to protect yourself from. Listen Folks! Never forget your Safety gear, we wouldn’t want to end up hurting ourselves in the process of making a French cleat.
Since we have all the things we need to make our Cleats: Let’s get into some action and make a French Cleat Shelf which will save us from the everyday storage hassle.
Step 1: Cutting the Wood:
Firstly, make markings on your sheet of wood, a reference for you to cut along the wood. Let’s draw the main parts which includes the base of the shelf, sides of the shelf and the cleats- One goes to the wall (the mounting cleat) and the other to the back of the shelf.
Secondly, Let’s begin with bevel cutting the wood with the help of a Circular saw at 45 degrees for the cleats and then cut all the parts we need to make the shelf.
Quick tip: You can use a scale or anything with a straight-edge which can help you achieve a perfectly straight cut.

Step 2: Assembling the Shelf
Once all the parts of the shelf have been cut, screw them together.
Tip: You can also Use an Adhesive to increase the strength of the joints of the shelf.

Step 3: Sand the Edges of the Cleat
With the help of a sandpaper soften the edges of the cleats so that there are no irregularities at the cut edges which would weaken the grip of the cleat and fits into each other perfectly

Step 4: Mounting the cleat:
Take the mounting cleat and screw them to the wall. Remember the beveled edge has to face upwards.

Let’s get it hanging!
Stick and Screw the other half of the cleat to the shelf. The beveled edge should face downwards. Voila! Just hang the shelf to the mounted cleat.
Uses of the French Cleat Shelves:

- Use your French cleat Shelf to hang the power tools in your workshop
- Use the French Cleat Shelf as Wall Storage.
- You can also use your Cleat Shelf as Shoe storage.
You can use these easy French cleat shelves for anything as far as your creativity works!
You know what? The French Cleats are not only easy to make but also have unbelievable strength, they can pretty much hold anything!

